So important, and So Easy…1, 2, 3, DONE
One of the biggest issues when recording audio at a home studio is extraneous noise, and when we begin our recording careers, we often grossly underestimate the importance of room acoustics…

Don’t Underestimate Your Opponent!
And we assume, <ahem> at least I did, that just because we have a nice condenser mic and expensive studio monitors, great sound comes automatically.
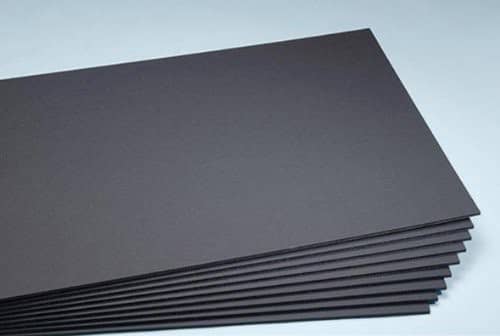
1/4″ Foam Core, cut into 12X12 squares
But the truth is…the acoustics of your room have more-to-do with sound quality…
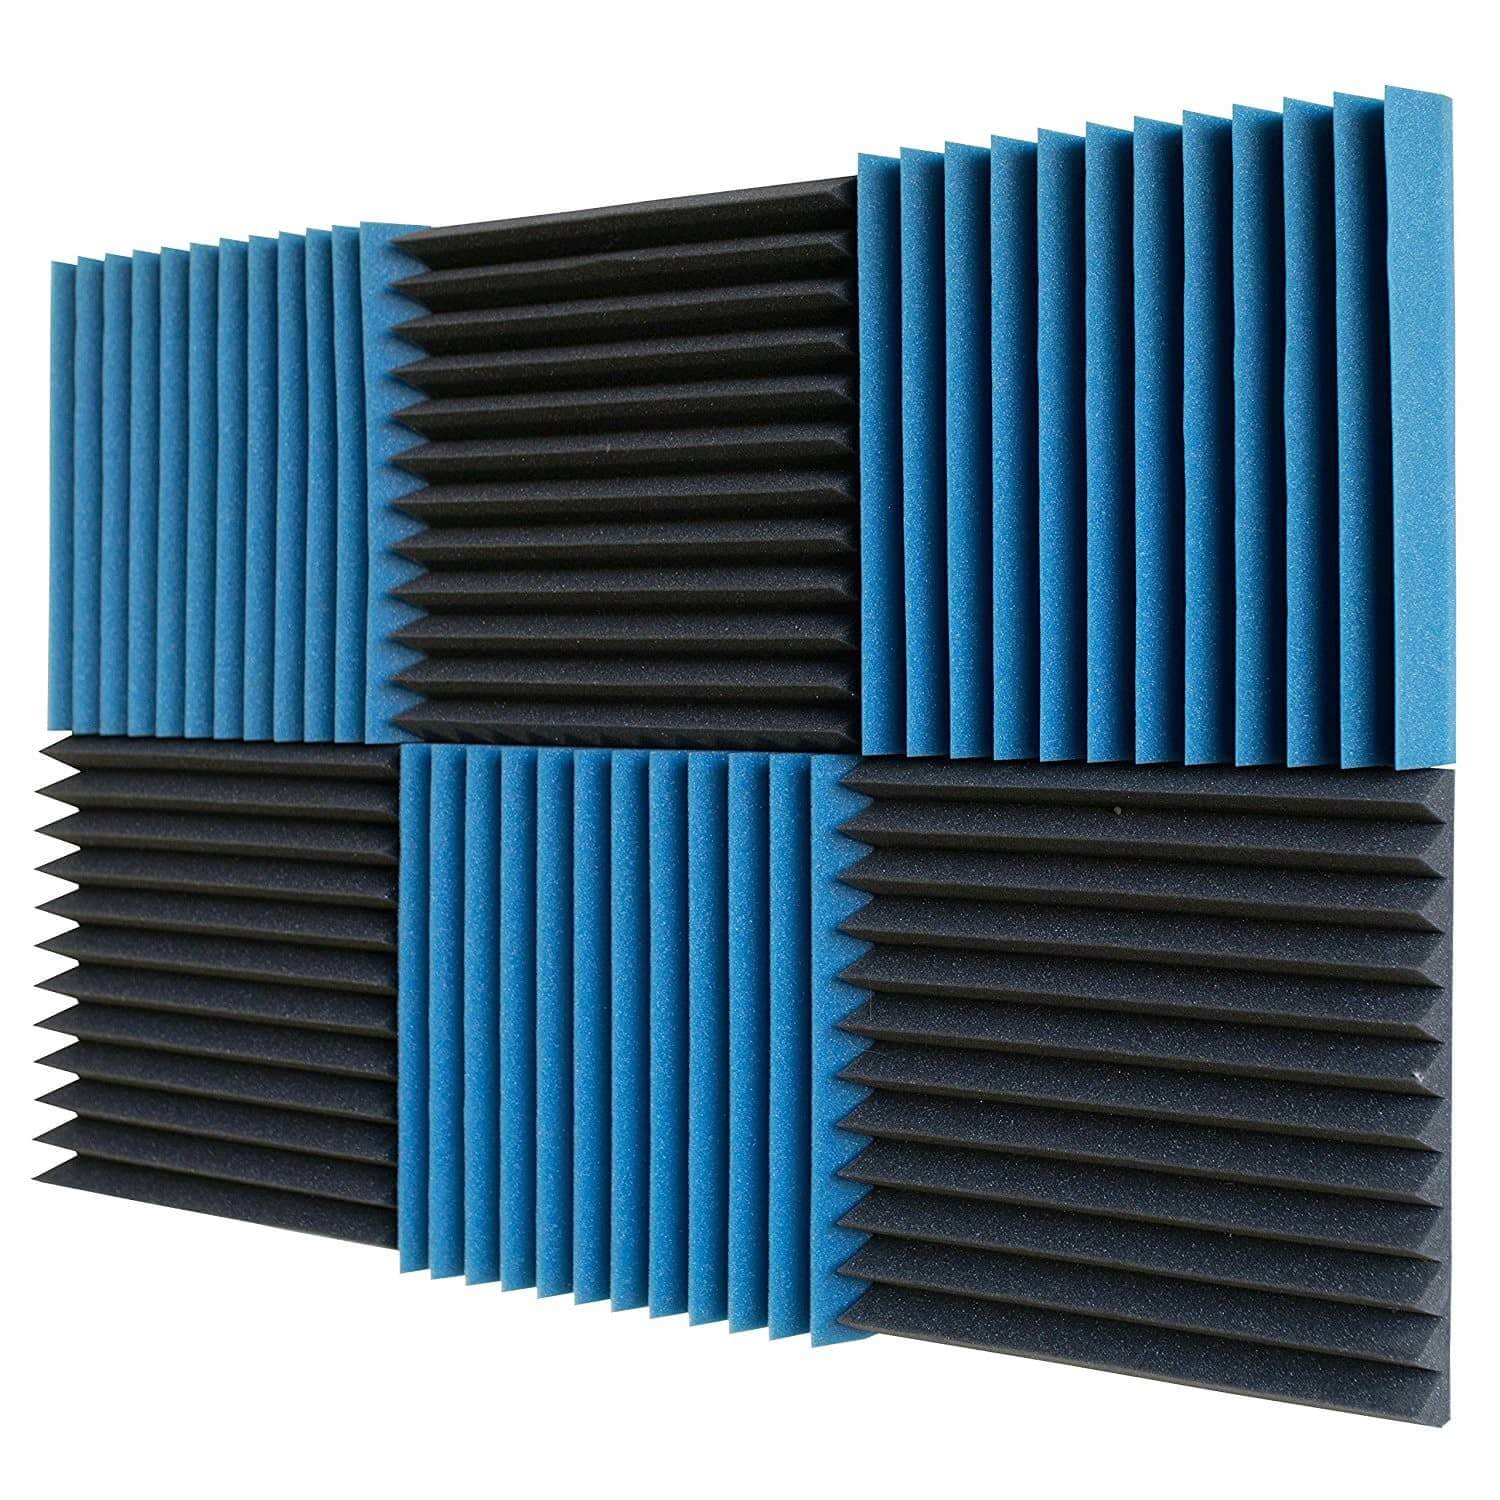
1″ thick, 12X12 acoustic foam tiles, gray & blue
Than perhaps anything else your studio….anything.
So rather than face months of frustration trying to figure out what you’re doing wrong…you might as well get this stuff handled right now.
Which is why in this post, I will walk you step by step through the entire process of designing an effective acoustic tile design, drop creation, and sound dampening, in my DIY “sound and noise destroys!”
FINISHED ROOM, INSTALLED TILES AND SET UP…
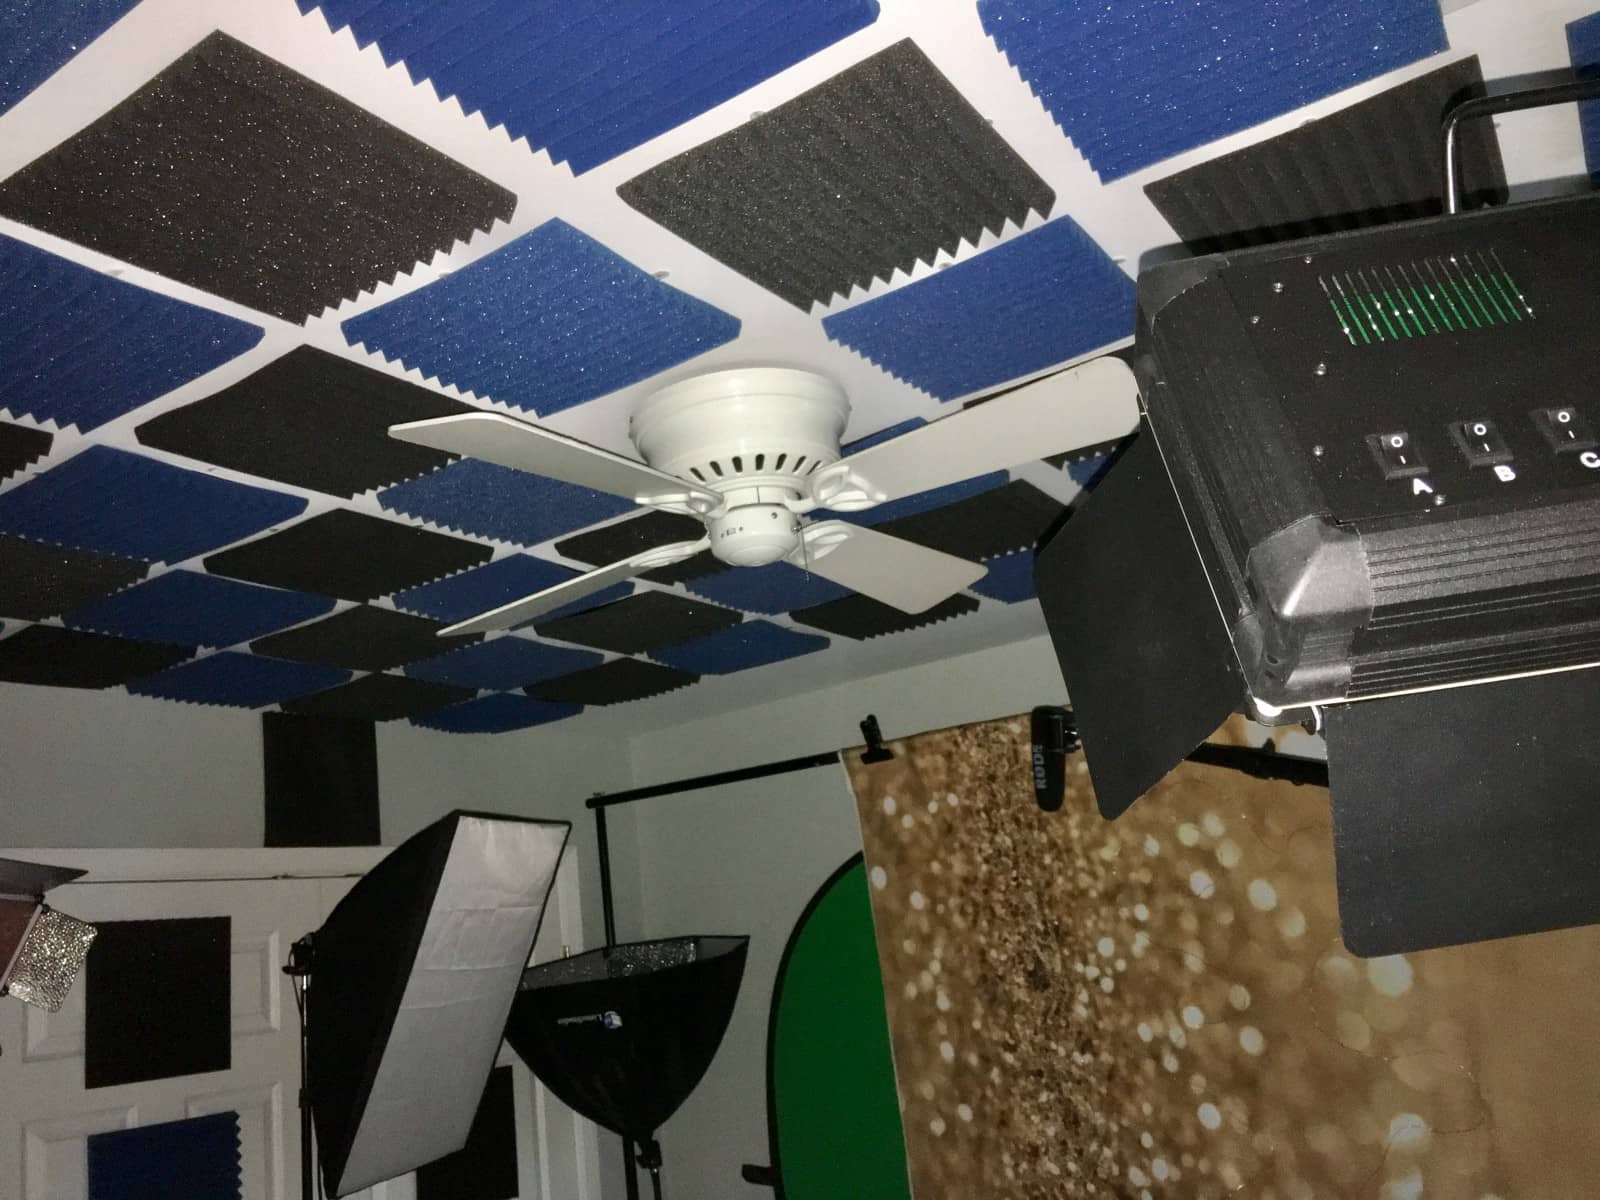
From room corner, across, with green screen drop, and gold burst drop visible
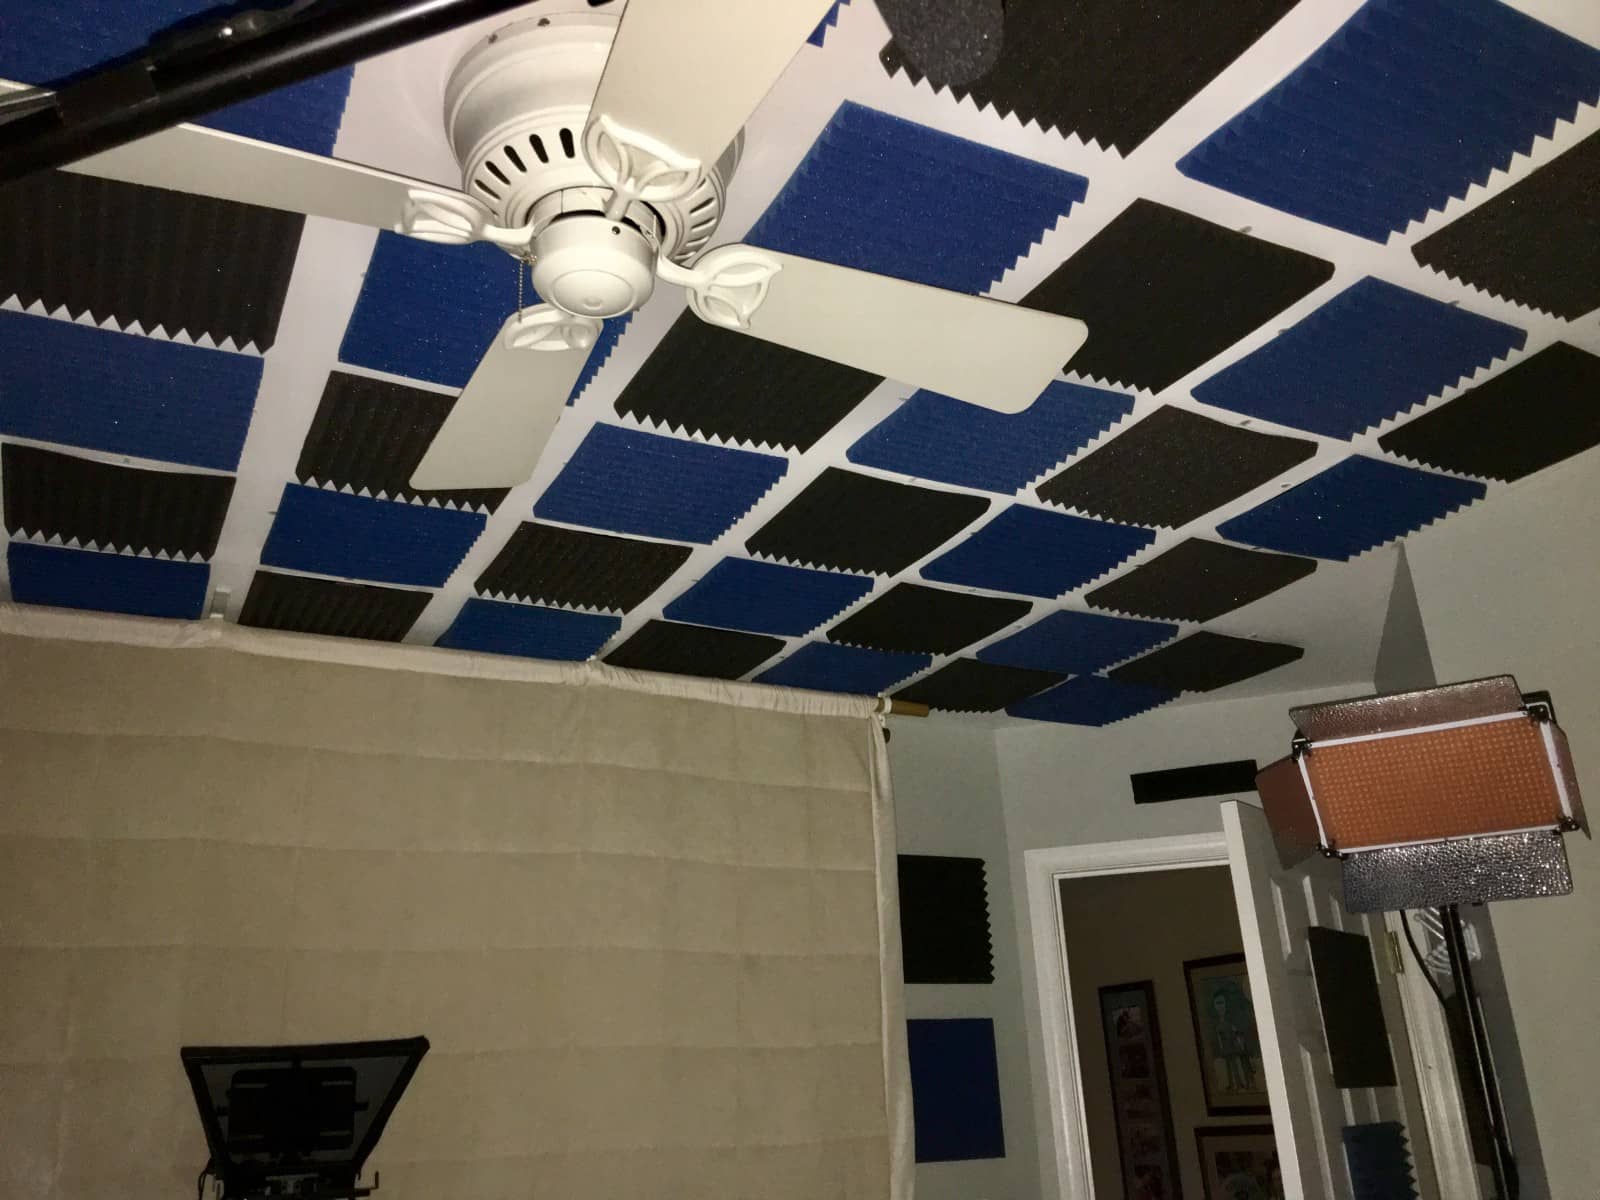
From opposite room corner, across, with rear sound dampening drape, behind which are additional drops.
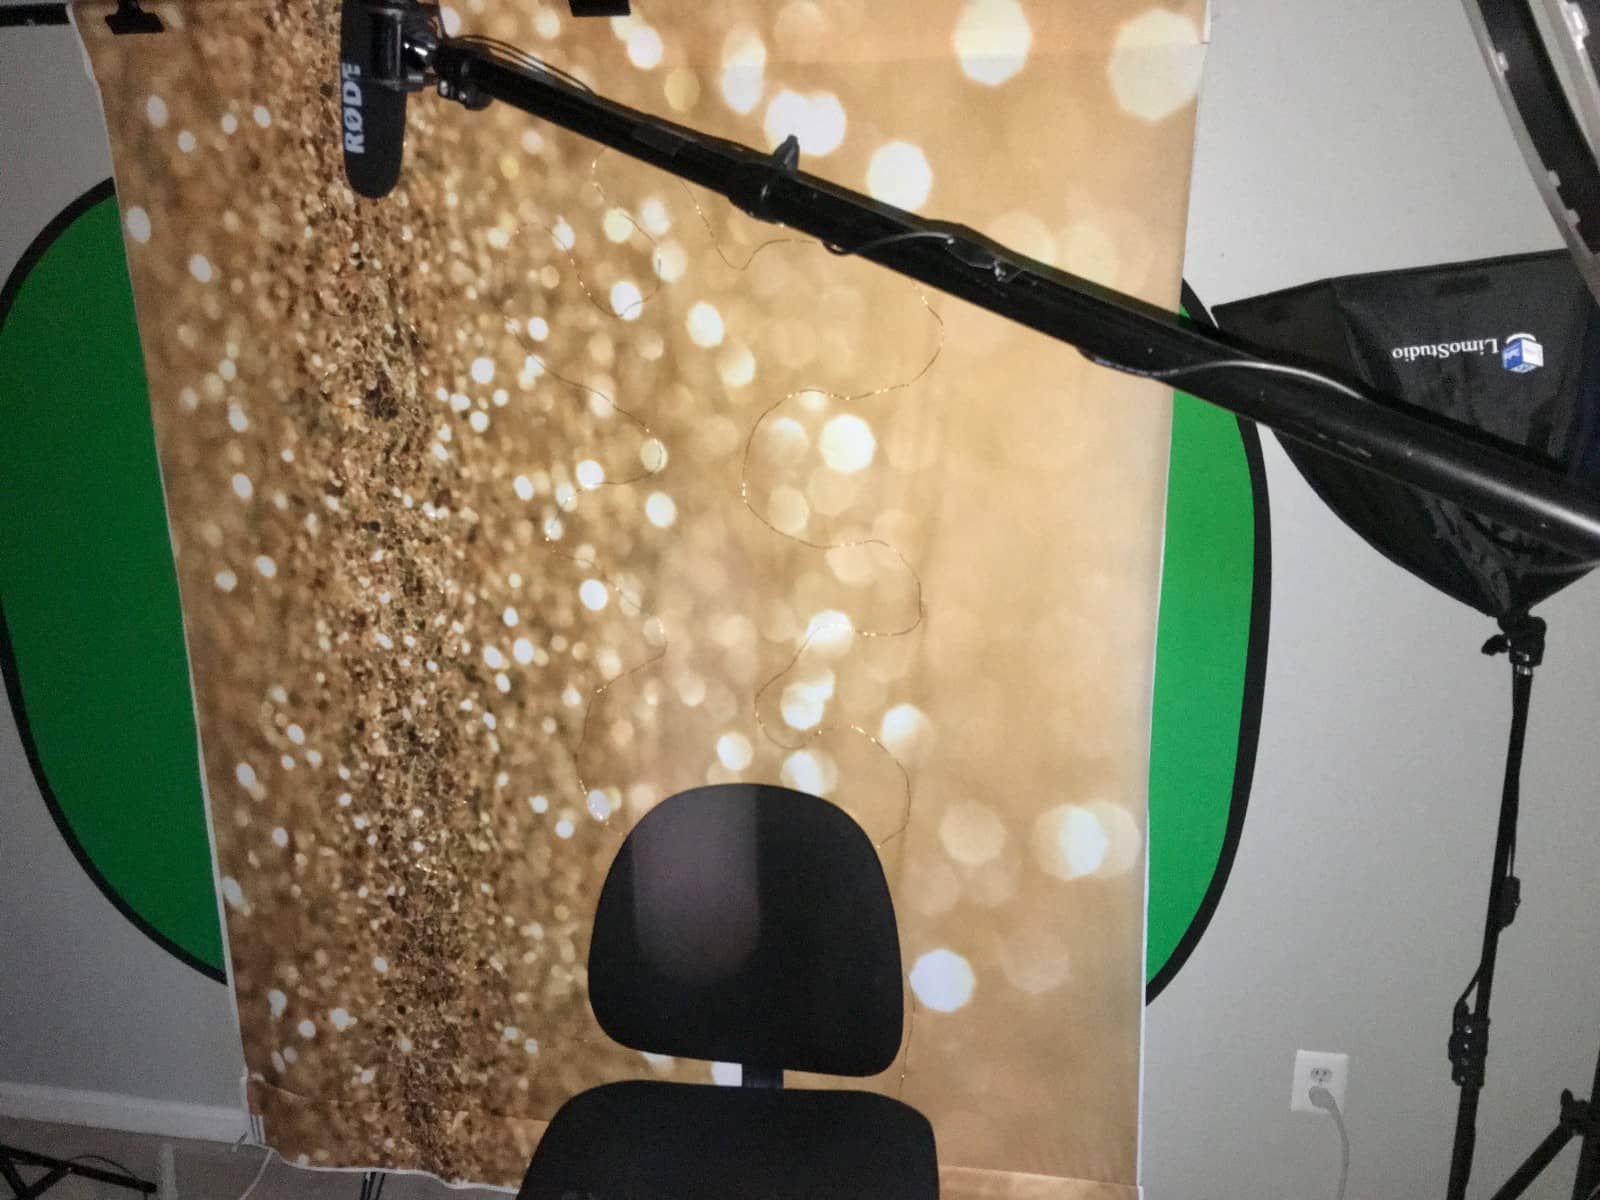
Gold drop, boom mic, green screen, behind.
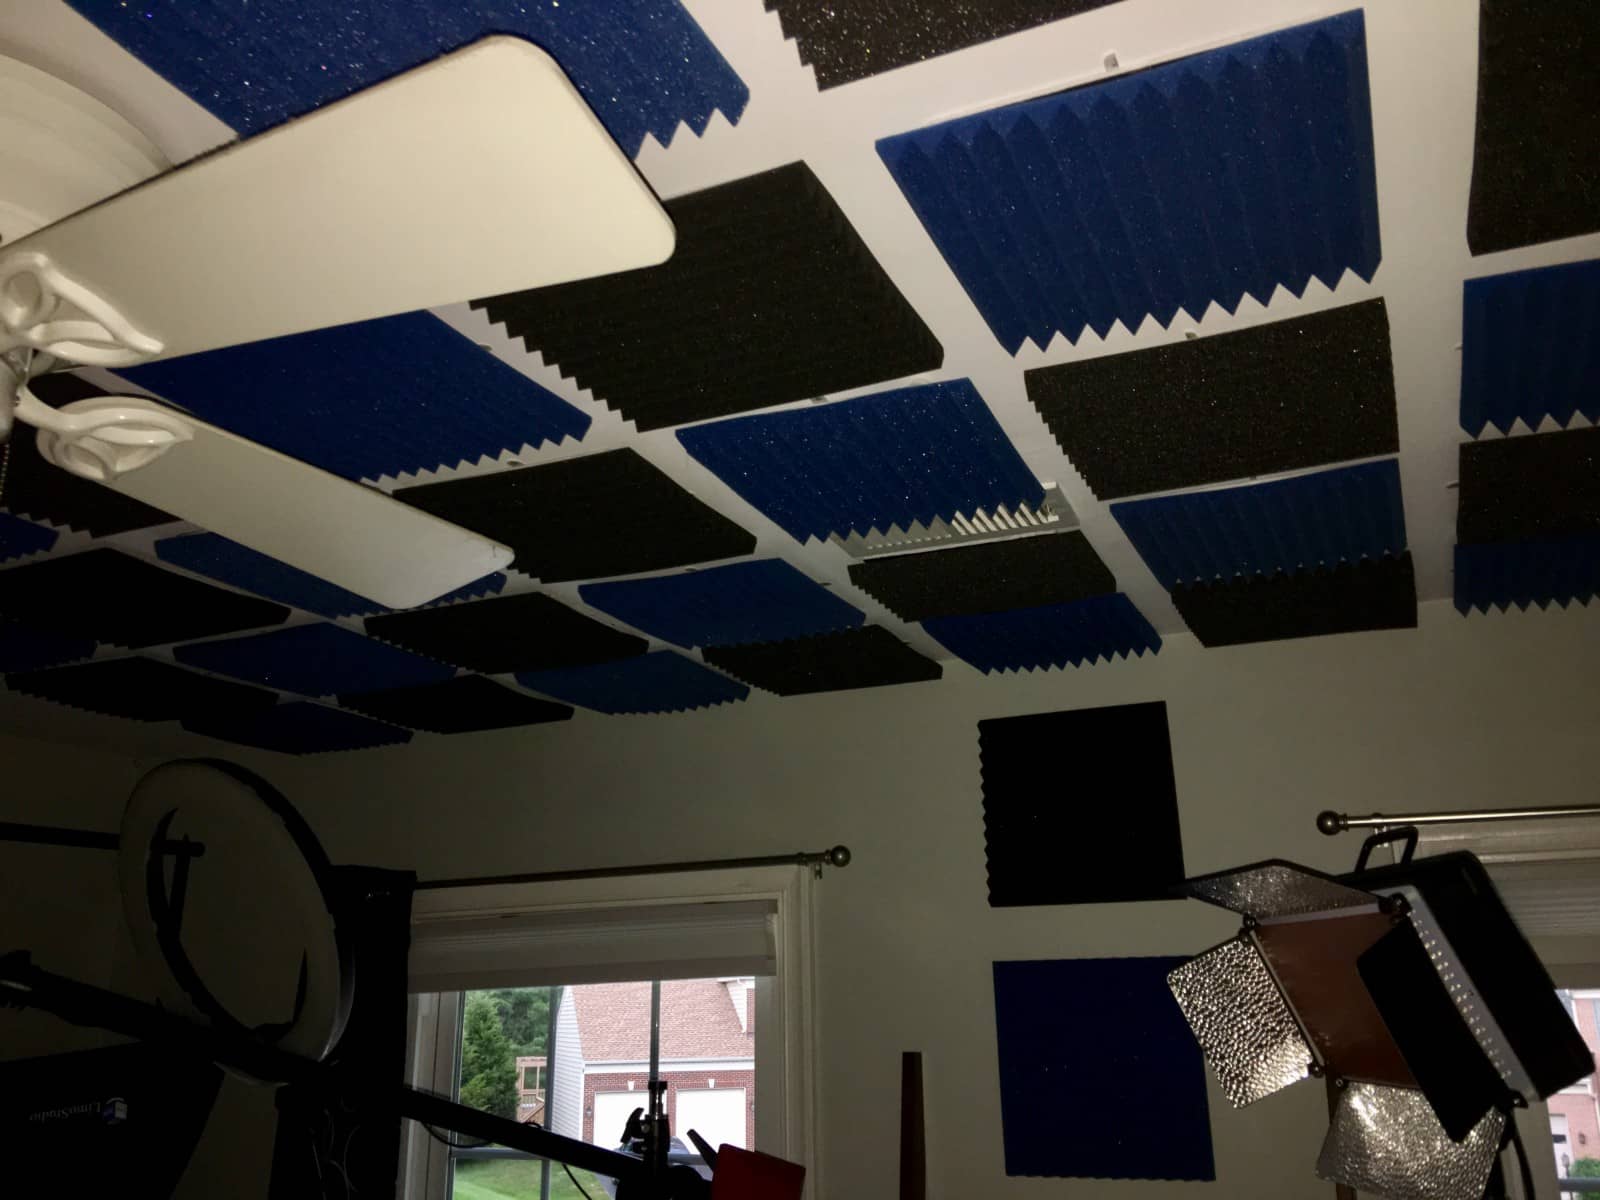
Ceiling tiles, mounted to ceiling, black out curtains, acoustic blinds installed, and wall dampening, plus lights.
Enjoy!

